The Road to Vacation Countdown
Updated: Apr 3, 2023
Kids love to build excitement. My little ones created the ultimate countdown and it was so much fun to make. We made a Road To Disney Countdown!! Disney was at the end of our road here but the end of the road can literally be anything your family is looking forward to. Below I detail how I created our road. These were the steps I took. Take this idea and make it your own. Please, Please tag us in the pics of your road. We would love to see it!! You can tag us Instagram, Facebook or tik-tok.
What you will need
*A laminator and/or laminating sheets
*Your Phone ( for the pics)
*A good Walgreens promo code (the walgreens app)
*A Black Marker for the Numbers on the road
* If you choose this idea.... Learn From My Mistakes....
Face the kids in the right direction... or mirror the image before you print.... .
You can follow my steps which were really simple or you can put a spin on it and make it your own.


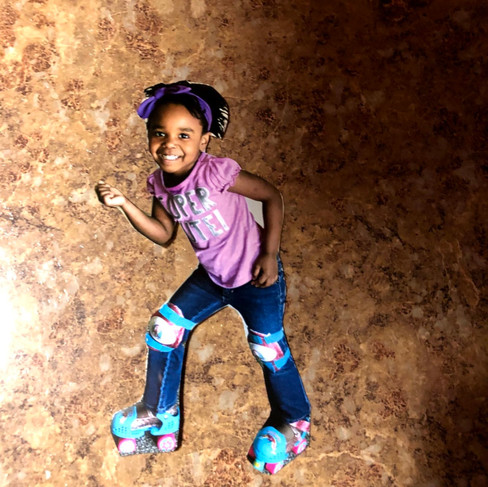
The best part of this whole project is the mini photo shoot the kids get to do. Grab your phone & throw on a good playlist. Start grabbing anything that they can use as a form of getting from point A to point B. Skates, Bikes, Running, a wagon, a Powerwheel or little tikes car, if your littles are little little.... maybe even a pic of them behind the wheel of your car. Anything you can find will be hilarious.
Before you jump into making the road.
Get your pics printed. We like to use Walgreens because I can send the pics from my phone via the app, the pics are usually ready in less than an hour, they are close by and there is always a promo code for prints. So I could print more pictures at a cheap price. I printed the pictures in wallet size.
You can adjust this based on how big or small your road will be.
Now onto the 5 Easy Steps to Build Your Road
Step 1

Because my kiddos could not agree on a color our road looked like a rainbow. You could make your road a rainbow and put the same images of the kids running over the rainbow but instead of the classic pot of gold on the other end..... it can be a cut out of your ship.
We cut the construction paper into several rectangles. We did rectangles because I had some old badge laminate sheets laying around that I found on clearance way back when. Like way way back. Think K-mart .... that's how far back these laminate sheets went. Why did I buy them you ask...... Because they were marked down from 6.99 to .25 and I could not past that up, lol. But 6 years later I put them to good use..... Jokes on my husband. This is to say you can choose whatever size or shape works for you. This shape worked because I was working with what I already had in the craft closet. The amount of rectangles you need will depend on how long or short your road is. Also keep in mind the size you ultimately choose should depend on the size of your laminate sheets. I could get 3 count down days on each rectangle. But if you are using full size sheets you can probably get more.


Step 2
Draw the lines on your road and the write in the numbers (the actual countdown).
Step 3
Here is where your laminate comes in. You are going to laminate the sections based on your laminate sheet size. You will also laminate the pictures themselves. I cut the pictures out pre-lamination. Makes the trim up process a little easier and you can fit more pictures per sheet. *If you are using full size you can laminate more than one thing at a time. If 2 road strips wont fit, consider a road strip and one picture.

Step 4
Once the laminating is complete you can do any additional trimming to get the shape or size you prefer for your road. Cut out the laminated pictures to as fine a point as you can get them...this will give them a more realistic look.


Step 5
Add the poster putty to the back of each section and stick it on the wall. Creating your road... Then have a little basket or bin nearby to hold all of the action cut outs ..so you can switch them out and some spare poster putty. We reused the same poster putty for the pictures. Just popped it off one pic and stuck it on the next.
Also, We did not remember to do ours daily but that just made it a little more fun. Especially when we forget to move them for a week and the kids get to do a big jump ahead.
Our finished product photos are a little on the awful side. They are not very detailed because when I took these photos... little did I know I would be here sharing them with you all. I just take a million just because pics because it's just who I am.
The point of this project is to just have some fun together ..... enjoy the process.


If your Kiddos are a little older but still not too old to enjoy a good countdown. This makes the perfect Compromise. Remove 1 Rock everyday.... it's cute decor (until the end) and it gives a visual of how much longer you all have to go.
My Mistake is Your Lesson: Make sure you assign 1 person to remove the rock for the day. Or do it all together 1x a day. Don't let each kid at random times take a rock for the day.......or you will be a month ahead of your cruise with no countdown left.

Commenti